Casting stamps
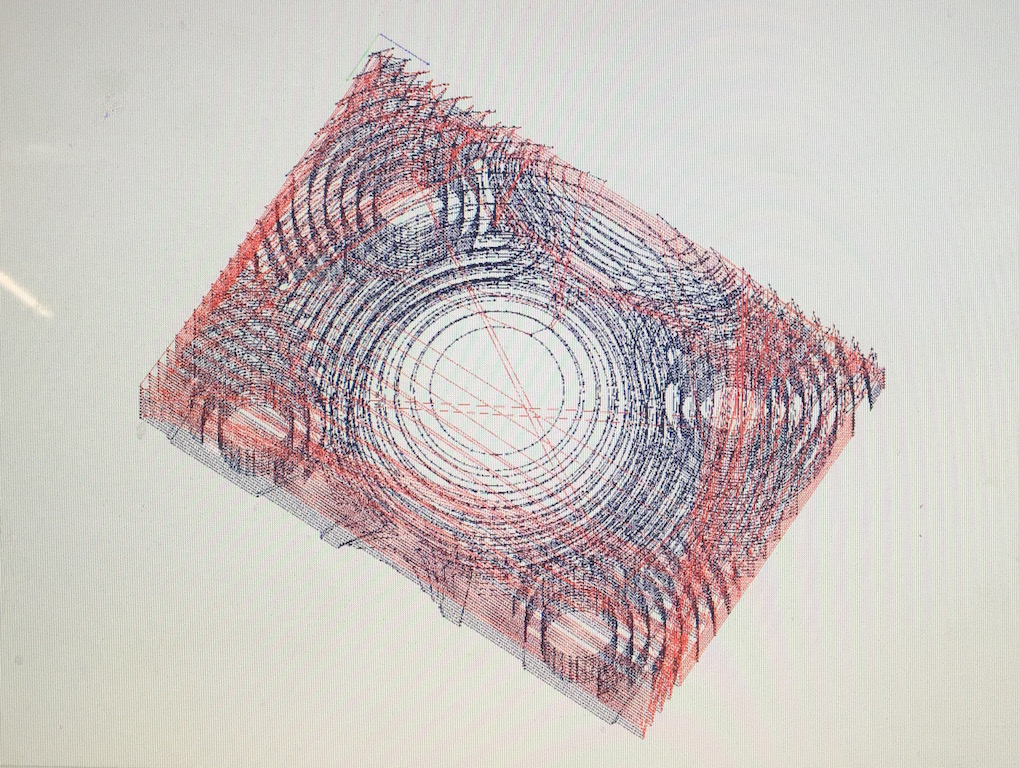
This week I casted stamps with Hydro-stone, Dry-stone and Bismuth-Tin alloy. First design was a round stamp with ball handle. I designed a three part mold, two for the handle and one for the bottom with letters. The handle is machined with 1/8' endmill and the bottom pattern is machined first with 1/8' endmill then the letter is wrote with 1/64' endmill. In the design, I added holes to align the piece and also pour holes and vent holes. I machined with modula and fabmodule which works pretty well. The ball part was cutted through 3D stl with a rough cut and finish cut. The bottom was cut just through 2D png image. For the 2D cut, I used the PCB outline process with 1mm cut depth each time. And I found the png must have a boundary on the outside or the outline won't be smooth, which is not really a big problem but nice to be avoided.
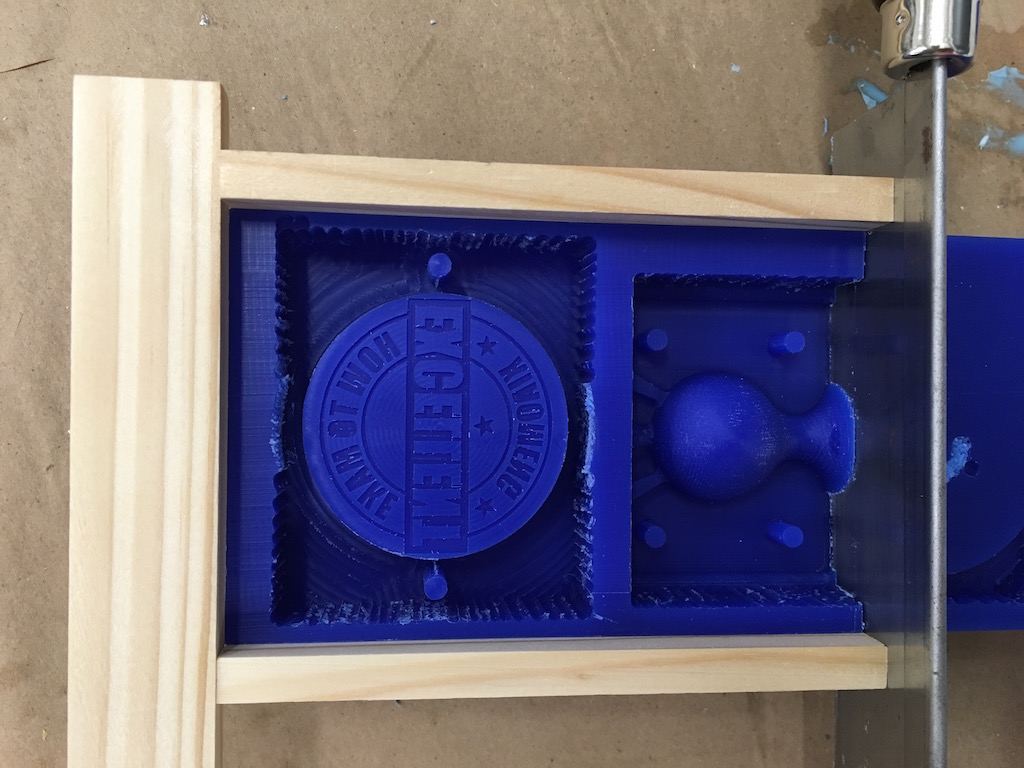
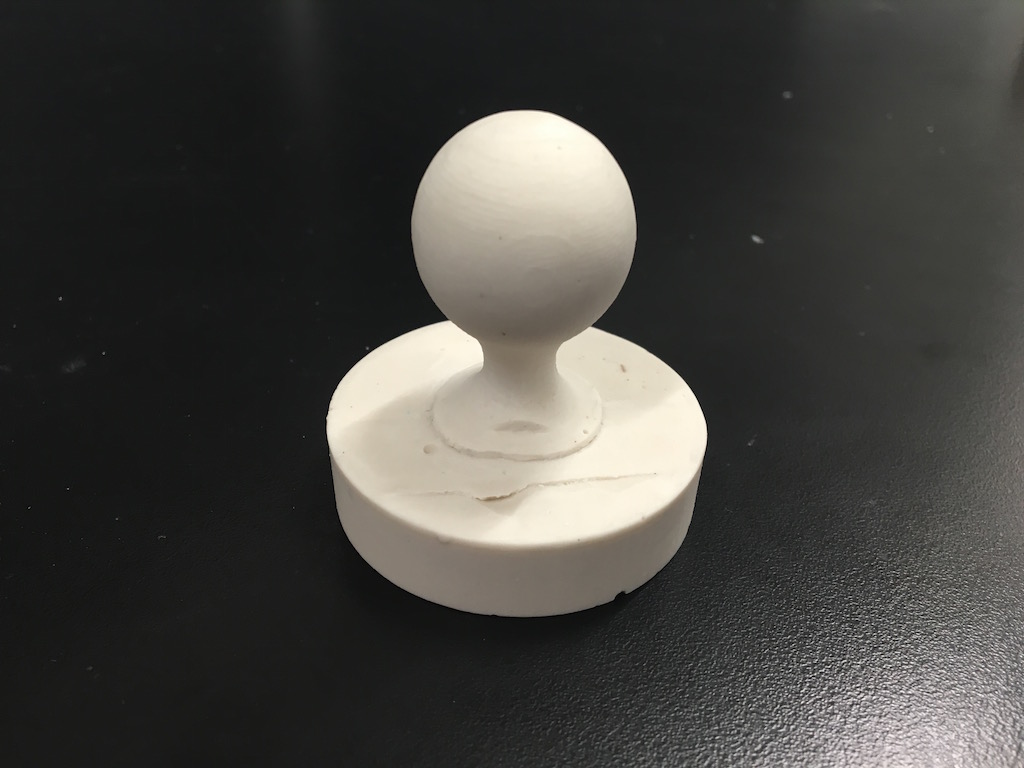
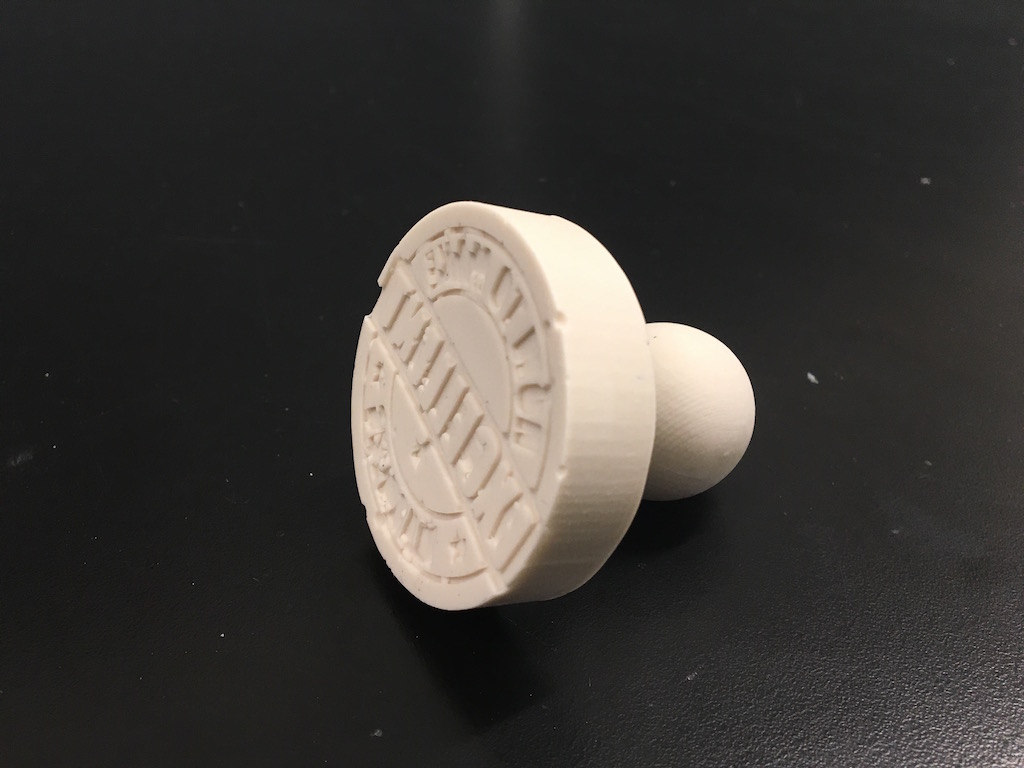
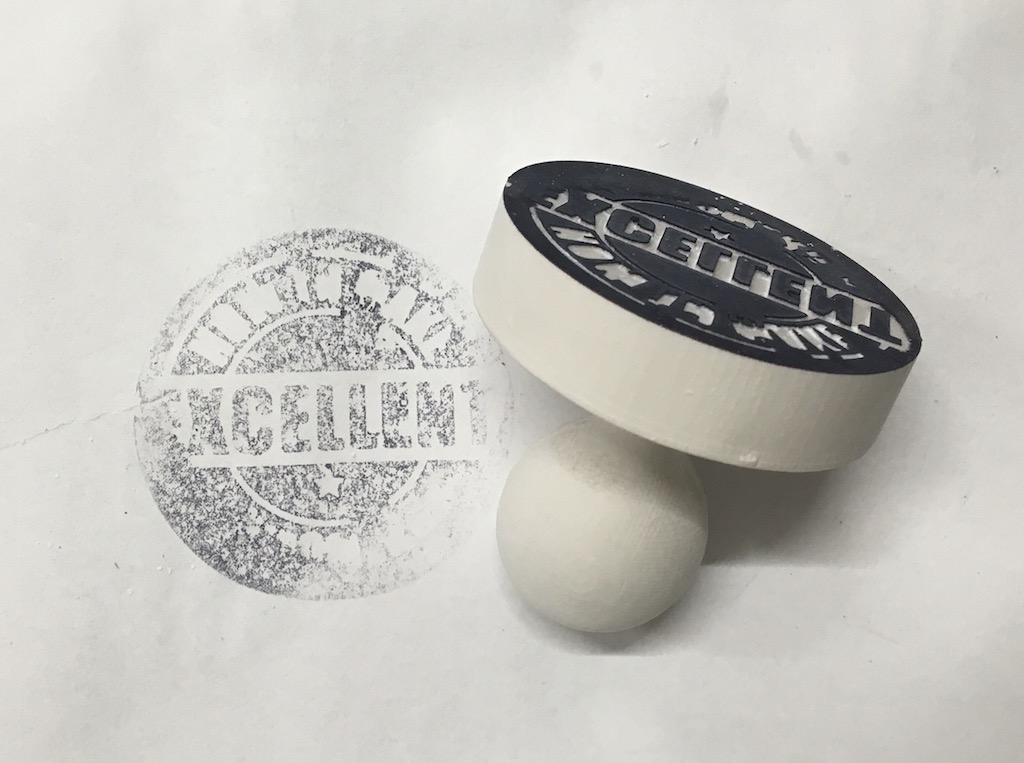
I only cutted one part of the two parts ball mold. And just molded twice with OOMOO to create the two part mold, because the two parts are symmetric. First I casted hydrostone which works well except that there is quite some bubbles on the letters because I pour directly on top. Then I did a second one with drystone which this time I poured the bottom with bottom tilted and thus covers from one side of the letters to another smoothly. And the letters turn out much better. However the bottom is not quite flat, and in order to fully soak the ink, I need to sand the bottom to flat. Unfortunately the sanding was too much and concentrated on oneside which it wiped out part of the pattern, but still it looks pretty nice.
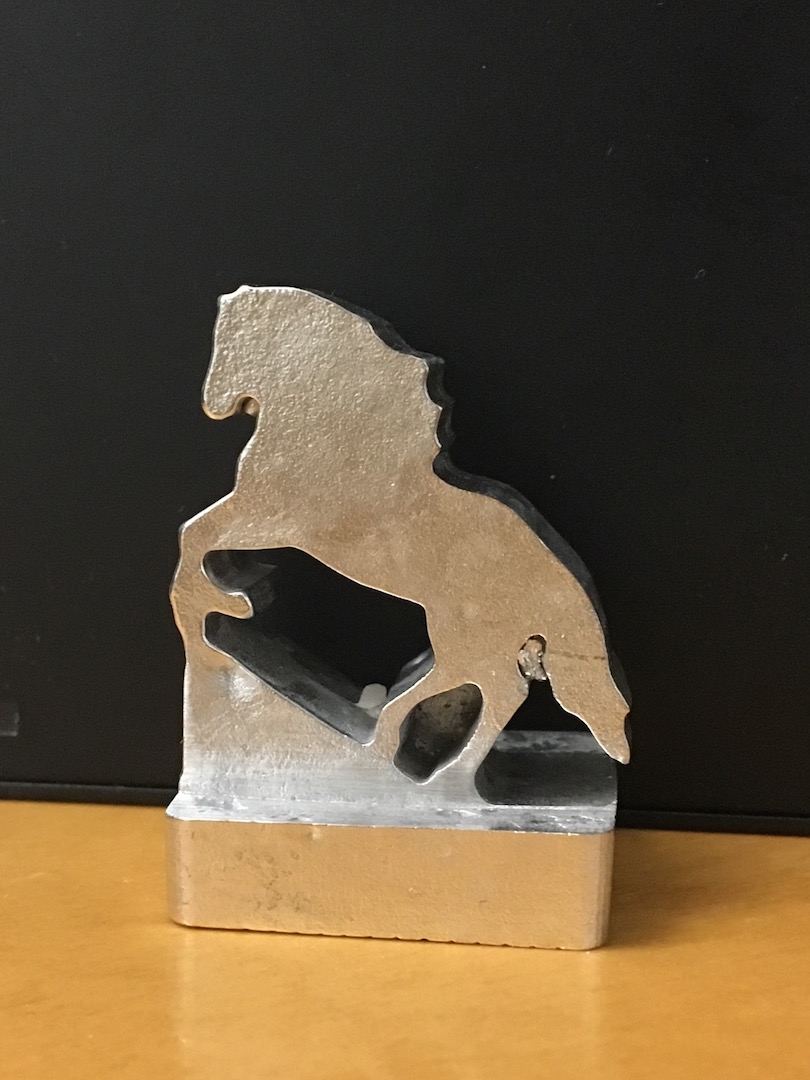
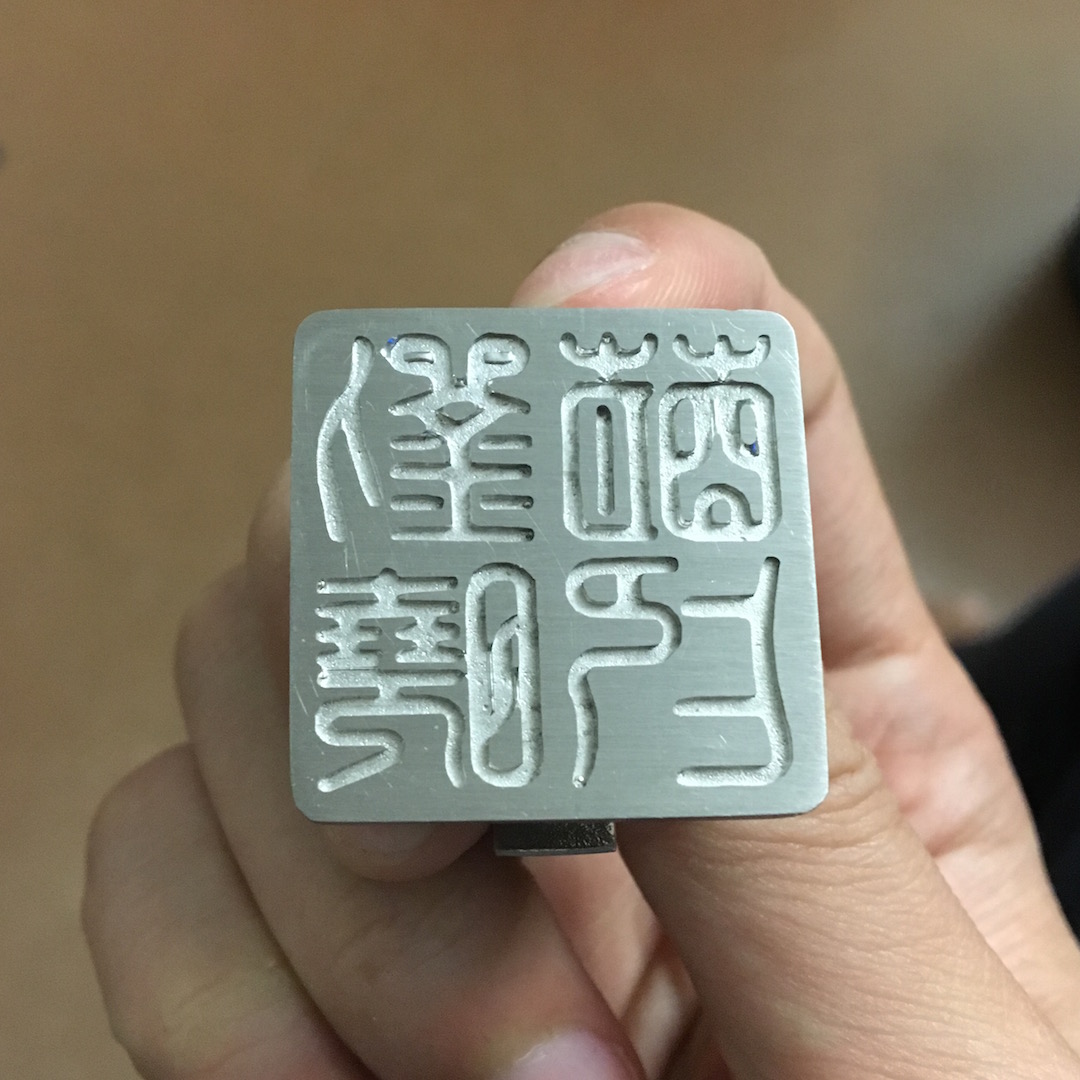
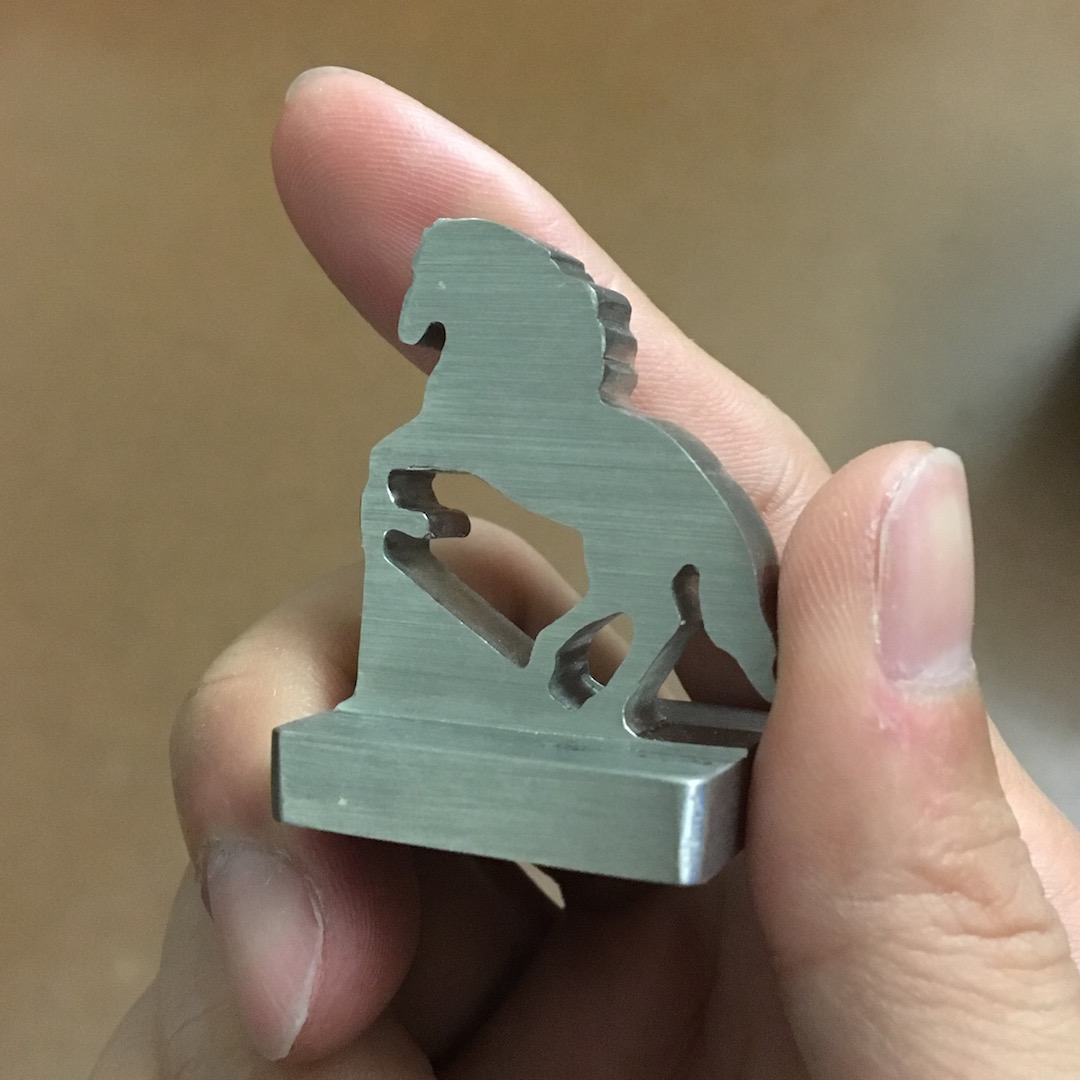
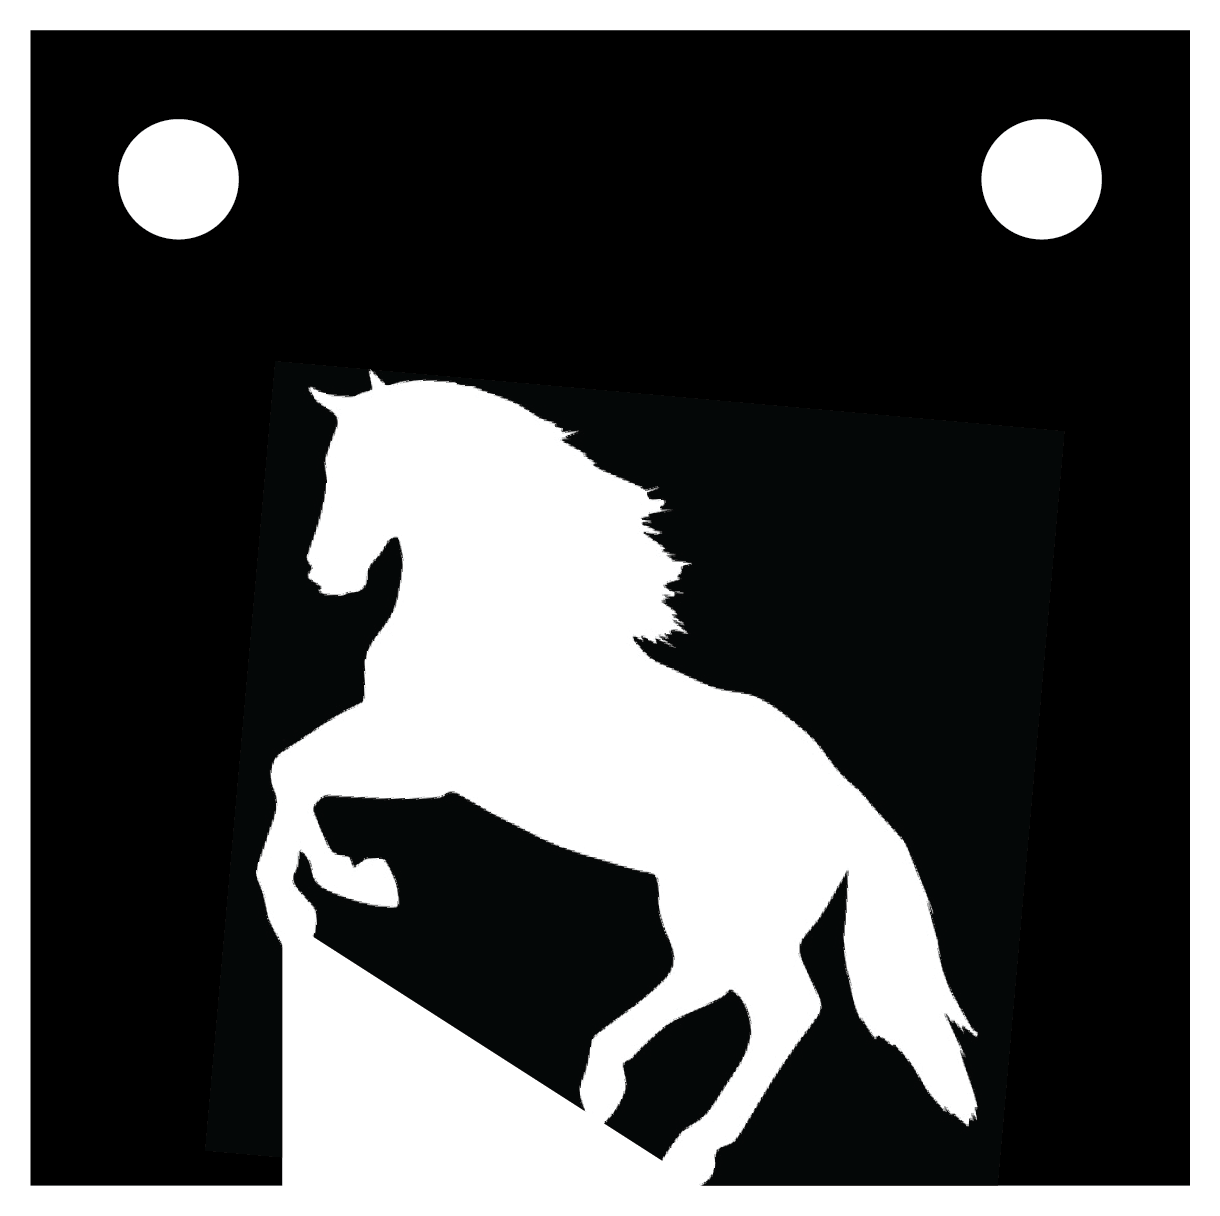
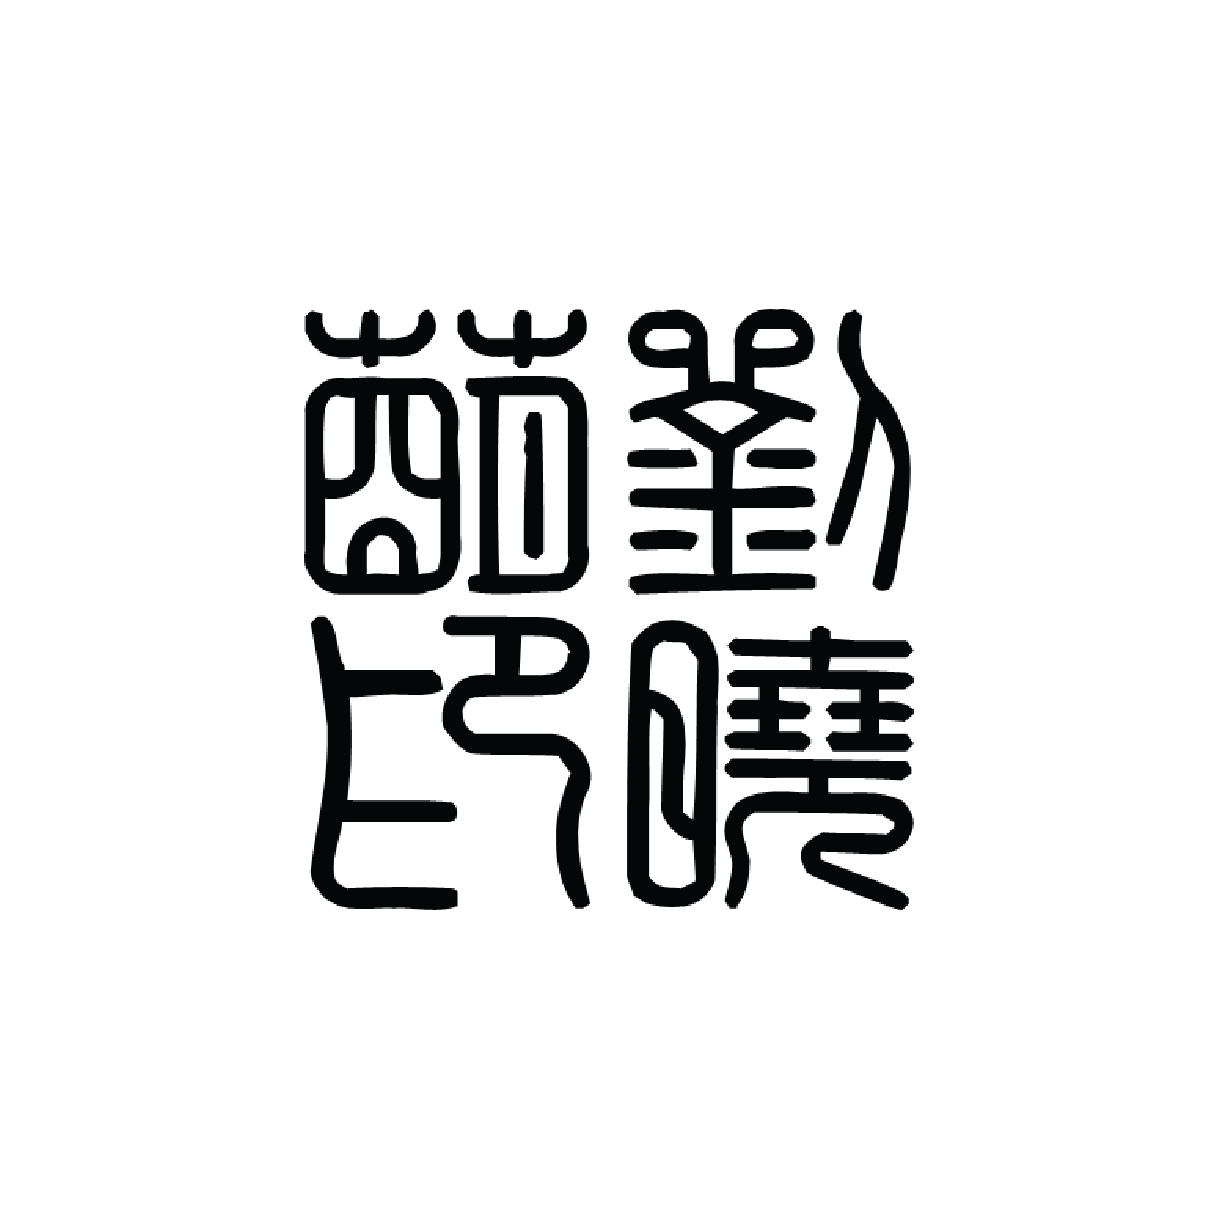
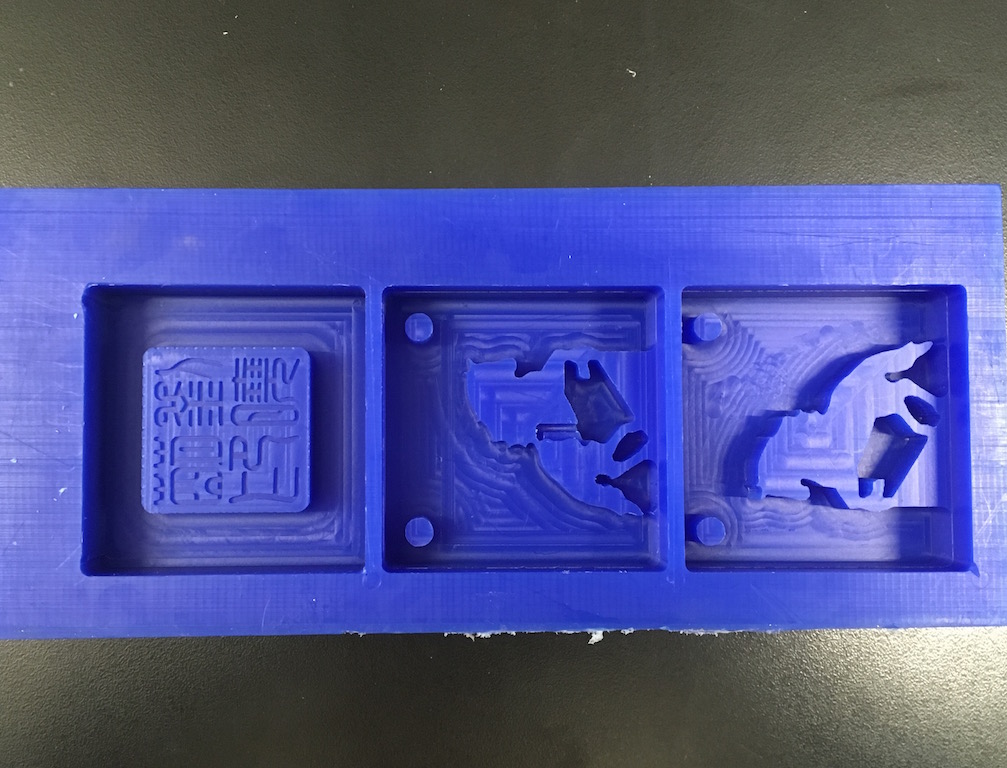
I also made another stamp with my name in tranditional Chinese writing and a horse as the handle which is my zodiac. I designed it entirely base on 2D in illustrator. Again it's a three parts mold, as shown below. For the horse, first used a 1/8' endmill to cut the top flat and rough horse shape (left and middle image), then used a 3/64' endmill to make the details. For the letters on the bottom, 1/8' mill rough out the shape and 1/64' mill the letters. Because there is no mirror symmetry, had to mill out two different mold with wax. To save the wax, I flipped over and reused the same block for the round stamp.

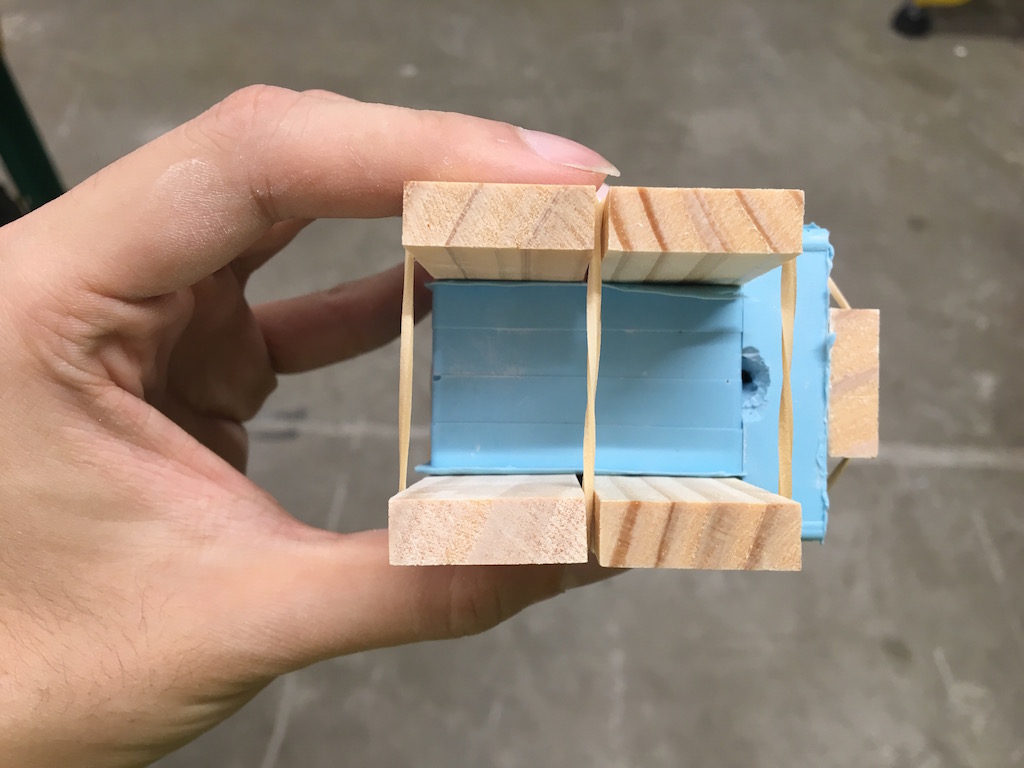
After casting the OOMOO, I cutted the pouring hole and covered the OOMOO with baby powder. The babypowder is really important, because allows air to get out even without vent holes, so there won't be any bubble. The pouring worked really well.

The only problem I realized at the end is I forget to mirror the letters which result in inverted letters. Also because I didn't do 3D designing, the thickness of the horse is too large.